
Nano Banana 2.1 image generator and editor
Create a new image or refine a reference with clearer composition, consistent subjects and natural detail.
- Output resolution
- 1K / 2K / 4K
- References on Kuca
- Up to 10 images
- Image formats
- PNG / JPEG
- Creative inputs
- Text + images
Four official examples
Look closely at the light, the materials and the relationship between the subject and its surroundings. These official examples offer useful starting points for a photographic brief, a landscape composition or a color-led campaign.
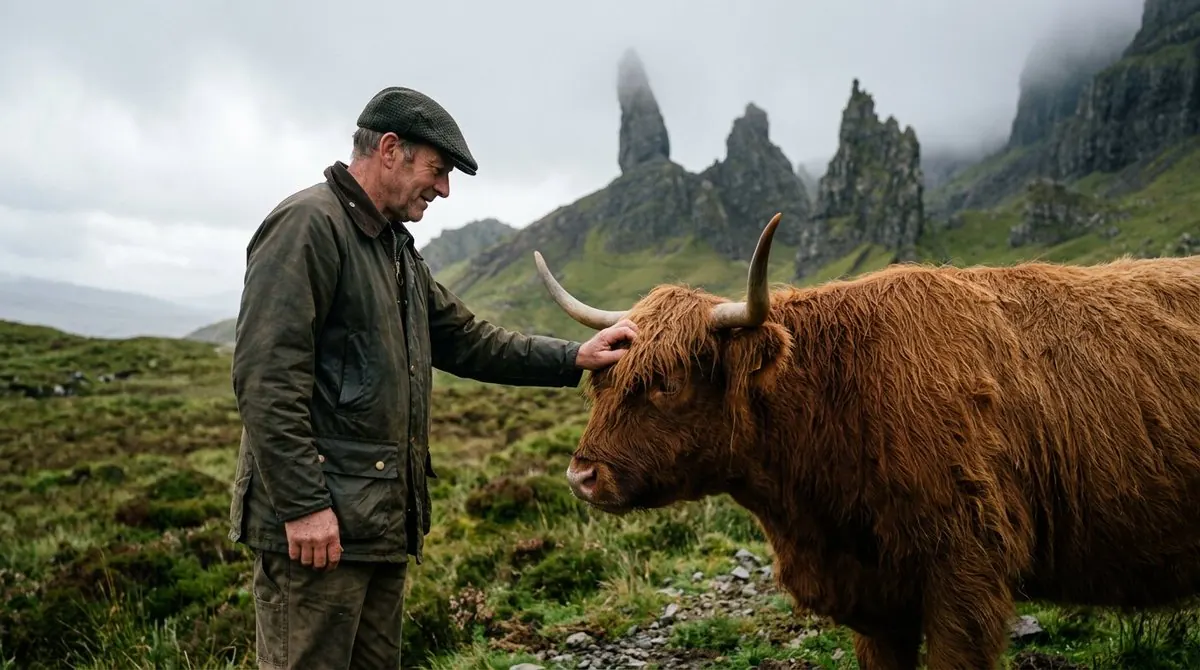
A portrait in the Highlands
Weathered clothing, shaggy fur and misty rock formations share one convincing outdoor light.
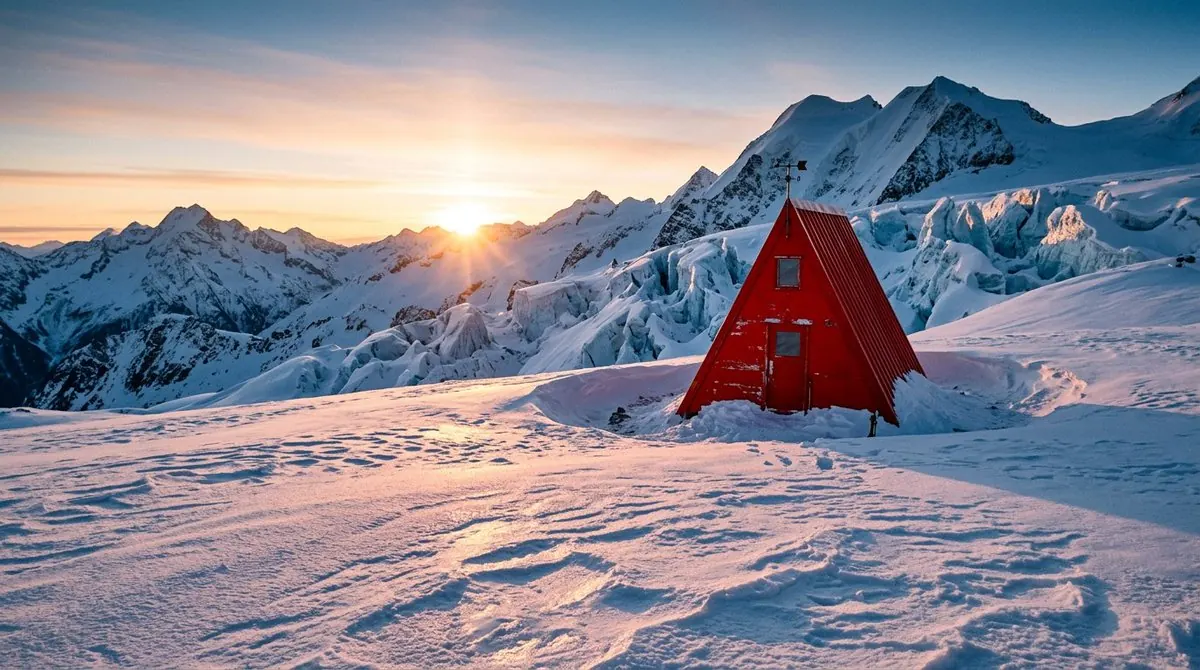
A red cabin at sunrise
A restrained focal point and warm sunlight give the snowy panorama a clear visual hierarchy.
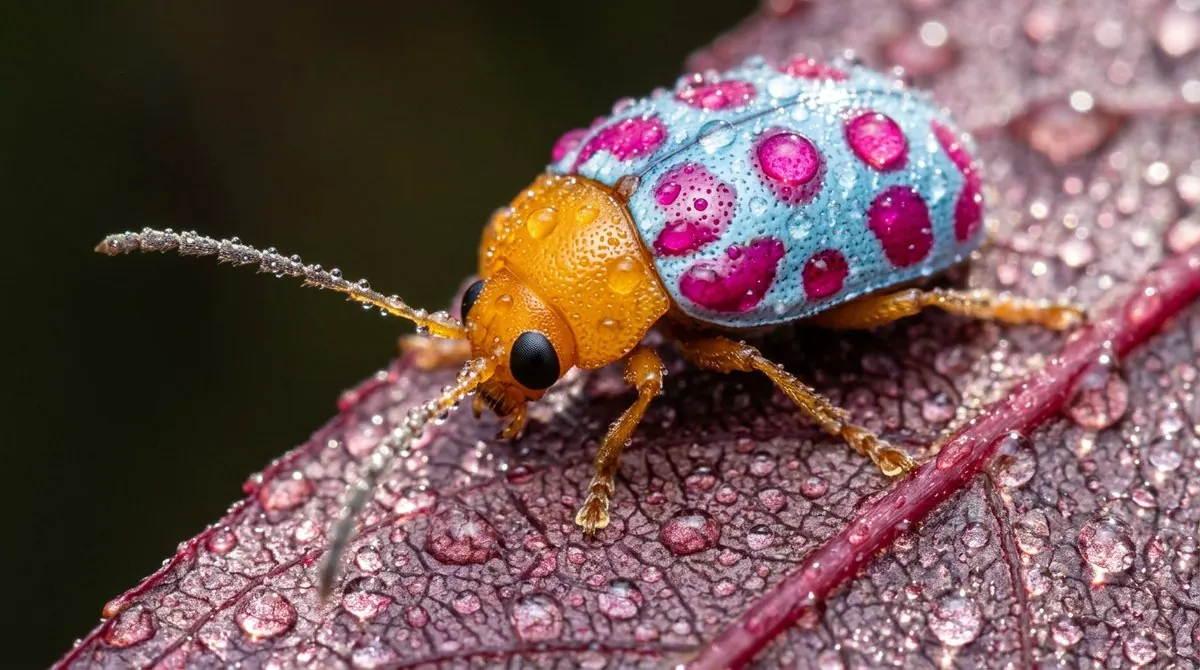
A close look at tiny details
Dew, a textured leaf and a colorful beetle turn a small subject into a material-rich macro scene.
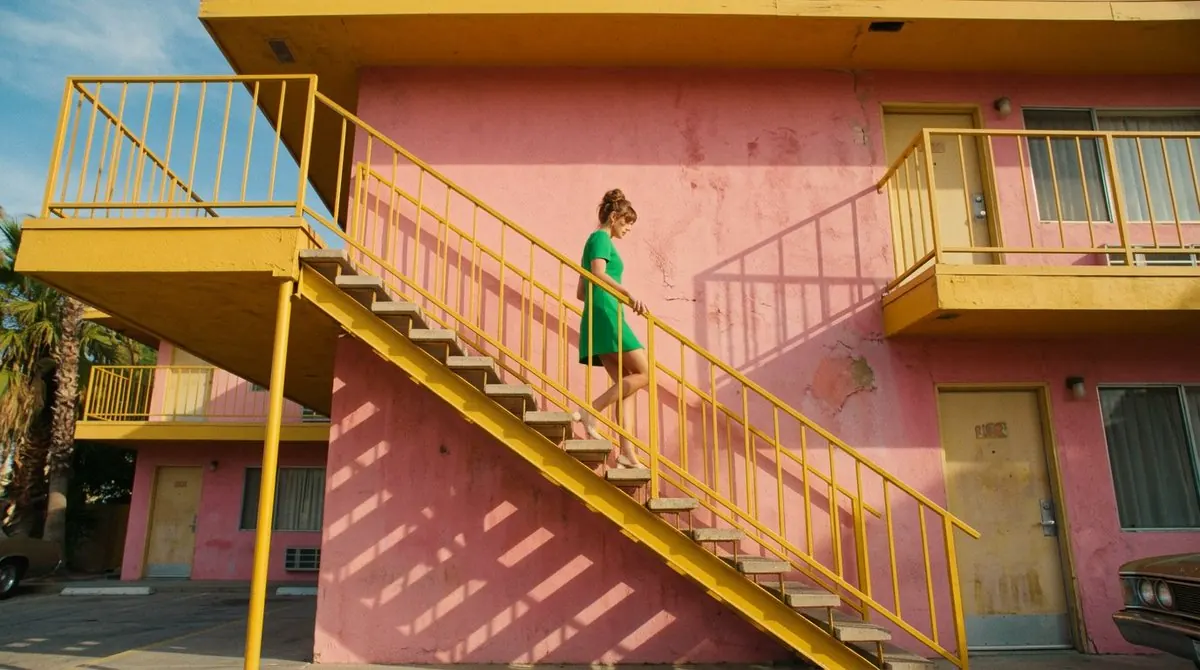
Architecture with a color story
A green dress, yellow railings and a pink facade create a readable, deliberately composed palette.
Choose a resolution, see the cost
1K: 4 credits · 2K: 5 credits · 4K: 8 credits per image
Start with 1K when exploring ideas, and choose 2K or 4K for a selected design that needs a larger delivery file. Check the displayed credit cost and your available balance before generating. Adding reference images does not incur a separate surcharge for this model.
What is Nano Banana 2.1?
Nano Banana 2.1 is Google's image generation and editing model, an update to Nano Banana 2. The official introduction highlights four improvements: visual design, mask-based editing, subject consistency and more natural-looking images. The model documentation also describes improved text rendering and composition across 1K, 2K and 4K outputs. Its role is an efficient everyday creative model: develop a direction, build a useful first image and then refine it through a focused editing conversation.
Use Text to image to create a new scene from a written brief. To refine a photograph or keep the appearance of a person or product, switch to Image to image and add your references. You can upload up to ten images on Kuca. Give each reference a clear role, such as identity, shape or color. Describe the desired change in your prompt, then choose the aspect ratio and resolution for the place where you plan to use the result.
Design the layout before decorating it
For a product advertisement, editorial cover or social campaign, start with the visual hierarchy. Identify the hero subject, the secondary information and the area that should remain quiet. A useful brief says where the object sits, where the viewer should look first and how much space is reserved for a headline. This gives the model a design problem to solve rather than a pile of unrelated style adjectives. A restrained palette and one clear light direction usually make the first result easier to judge.
Choose the intended aspect ratio early. A square product image, a tall story and a wide website banner need different relationships between text and subject. Ask for separate compositions instead of squeezing one approved layout into every format. When reviewing a result, check the silhouette, reading order, edge clearance and whether the background helps the message. Preserve a working composition in the next edit and change only the element that distracts from it.
Make a local change without rewriting the picture
The official mask-based editing highlight is about directing changes to a selected area. In this Kuca workflow, reference-guided editing starts with an uploaded image and a written instruction. Name the target precisely: replace the vase on the left, simplify the background behind the bottle or change the jacket to dark green. Then describe the elements that should stay fixed, including the person's face, the camera position, the product label and the direction of the shadows.
Treat each edit as a small, reviewable decision. Changing the background, clothing, crop and lighting at once makes it hard to identify why the result drifted. A replacement object should inherit the surrounding scene's perspective, size, focus and light. After generation, inspect the boundary where the changed object meets the original surroundings. Look for mismatched reflections, repeated textures or shadows that no longer connect to the subject before continuing to the next adjustment.
Give every reference a specific job
Subject consistency is most useful when reference roles are clear. Use a clean front view for a product's shape, a portrait for identity and a separate image for the desired palette or environment. Explain which image controls which feature. If two references disagree, state which one wins. Ten nearly identical pictures often add less information than three complementary views that show the details you actually need to preserve.
Build a campaign from a small identity checklist: face shape, hairstyle, distinctive clothing, product proportions, logo placement and material. Reuse that checklist when you change the location or camera angle. Keep an approved result as the reference for the next variation, and compare new images against it rather than relying on memory. For a product series, check labels and small structural details at normal viewing size and again at full resolution before accepting the set.
Make natural images with coherent physical clues
A photographic scene becomes believable when its small clues agree. Describe the light source, the camera distance and the material response. Overcast light should not produce a sharp studio shadow; a damp pavement should reflect its surroundings rather than an unrelated glow. Ask for ordinary skin texture, plausible fabric folds and a background with a sensible level of detail. Natural-looking images often benefit from a specific setting more than from the word realistic repeated several times.
The official Highland portrait and alpine cabin examples show different ways to control atmosphere. One uses soft mist and textured surfaces; the other uses a warm horizon against cold snow. For your own brief, choose one such relationship and develop it deliberately. Inspect hands, contact points, reflections and perspective lines after generation. For close-ups, check whether focus falls on the important surface and whether the blur behind it follows the intended camera distance.
Treat text as part of the composition
Nano Banana 2.1's documented improvements include text rendering and infographic layout. Provide the exact wording, including accents, capitalization and punctuation, rather than asking the model to invent a slogan and typeset it in the same step. Separate the headline, supporting line and small print. Describe their relative sizes and where each belongs. A short label on a product needs a different approach from a dense educational poster with several reading levels.
For multilingual artwork, specify the language for each text block and the reading direction of the layout. Keep Arabic text in a right-to-left composition and avoid treating a Japanese headline as a line of spaced Latin letters. Review actual letters, numbers and line breaks, not just the overall visual impression. When a word is wrong, request a text-only correction while preserving the artwork. Check the final design at the size where the audience will see it, especially on a phone.
Choose the canvas and file for the destination
The tool supports 1K, 2K and 4K resolutions, with PNG or JPEG output and aspect ratios ranging from square to tall or wide compositions. Start with 1K when you are comparing directions, then choose a higher resolution for a selected idea that needs more detail. A larger file gives you more pixels, but it does not fix a confusing composition. Resolve the subject, text and crop before spending additional credits on the delivery version.
Use wide ratios for a banner only when the scene has enough meaningful space to support them. Describe what belongs at the far left and right so the model does not fill those areas with accidental repetitions. For product pages and social posts, test the intended crop with the subject safely inside the frame. Select PNG or JPEG according to your downstream editing and delivery workflow. Keep the downloaded master separate from the compressed copy you publish on the web.
Choose 2.1, Pro or Lite by the task
Nano Banana 2.1 is a practical starting point for everyday creation, reference-led variations and iterative editing. Google's model guide positions Nano Banana Pro as the premium choice for complex visual tasks, while Nano Banana 2 Lite prioritizes speed and cost. Choose by the work you need to finish: the same subject across campaign assets, a challenging design brief or a large batch of simpler ideas. Do not make a decision from the model name alone.
Compare the available models with the same brief, references and output size so that the differences are easier to judge. Look beyond the first impression: check label readability, the revisions needed and whether a subject stays recognizable in a new scene. Choose the result that needs the least work to reach your delivery standard. Save the approved prompt and references as a starting point for the next image in the series.
Using Nano Banana 2.1 on Kuca
How do I generate an image from text?
Select Nano Banana 2.1 in the tool, write the subject, setting and composition, then choose an aspect ratio and resolution. Review the displayed credits and generate. An uploaded reference is optional for a new text-led image.
How do I edit an existing picture?
Upload the picture as a reference and describe the change in concrete terms. State what should remain unchanged, such as the face, label, camera angle or background. Start with one modification so you can judge the result clearly.
How many references can I upload here?
The Kuca tool accepts up to ten references for Nano Banana 2.1. Use JPEG, PNG or WebP images of up to 30 MB each. Assign each reference a role instead of combining unrelated pictures without an explanation.
How do I keep a character or product consistent?
Upload clear identity references and describe the features that must stay fixed. Reuse an approved image when changing the scene. Compare the new result's face, silhouette, materials and labels with the approved reference before making another variation.
Which resolution should I choose?
Use 1K to explore concepts, 2K for a more detailed working image and 4K when the selected design needs a larger delivery file. The cost changes with resolution and is shown before generation. Check composition and text before increasing the output size.
Is Nano Banana 2.1 free on Kuca?
Generation uses Kuca credits. Check your available balance and the cost displayed by the tool before starting. Your account and plan determine the credits you can use; the page does not require a separate model subscription.
Do I need a Nano Banana 2.1 API key?
No API key is needed to use this page. Kuca handles the generation request through the built-in tool. Developers working directly with Google's API can find the official model identifier gemini-nano-banana-2.1 in the model documentation.
Where do I find the generated images?
After signing in and generating, results appear in your generation history. Open an image to review it, download the selected result and keep a master copy before preparing smaller files for a website or campaign.
Explore related image models
Explore another model in the same family for demanding visual briefs.
GPT Image 2.5Compare a different approach to image creation and detailed editing.
Seedream 5.0 FlashTry another image workflow for composition and reference-led creation.